You do not need a ready-made 3D file to order 3D printing. You need a clear idea of what you want to achieve.
3D printing enquiries increasingly come from people who are not directly involved in engineering or production: architects, procurement managers, project managers, museum curators, R&D departments without existing documentation. Each starts from a different position — what they have in common is that they stop before the first contact, stuck at the same question: Where do I even begin?
The answer is straightforward: with a description of what you want to achieve. The manufacturing file is the result of the work, not a prerequisite for starting the conversation.
The question is not which file you have. It is what you want to hold in your hands at the end.
What starting points are enough to place an order
The data from which a 3D printing model is built can take many forms. Each of the following is enough to get started:
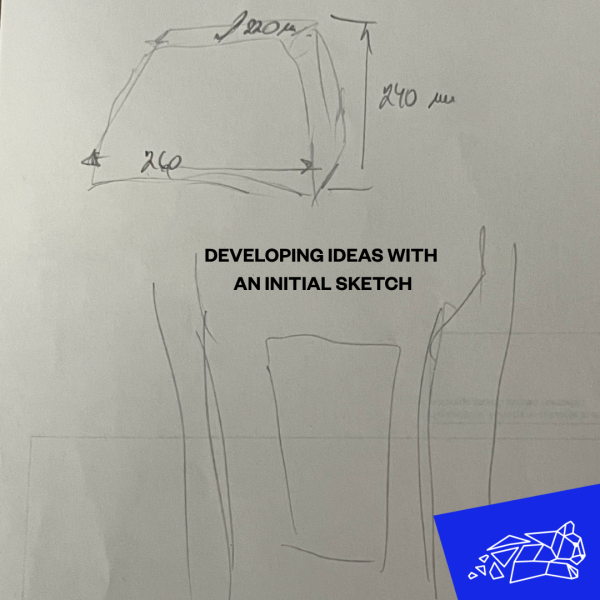
A sketch or technical drawing — even a hand-drawn sketch with dimensions is enough to prepare a digital model. What matters is that it communicates the shape, key dimensions and the purpose of the part. For simpler components, this is often the fastest route to a first prototype.
A photograph or reference object — for a replica or reconstruction of an existing object where absolute dimensional accuracy is not critical, photographs taken from several angles are often sufficient. A museum wanting a replica of a historical artefact, an architect who needs a presentation model, or a company that wants a demonstration piece for a trade fair often does not need full technical documentation to get started. Where exact size matters, reference dimensions or additional data are added to the photographs.
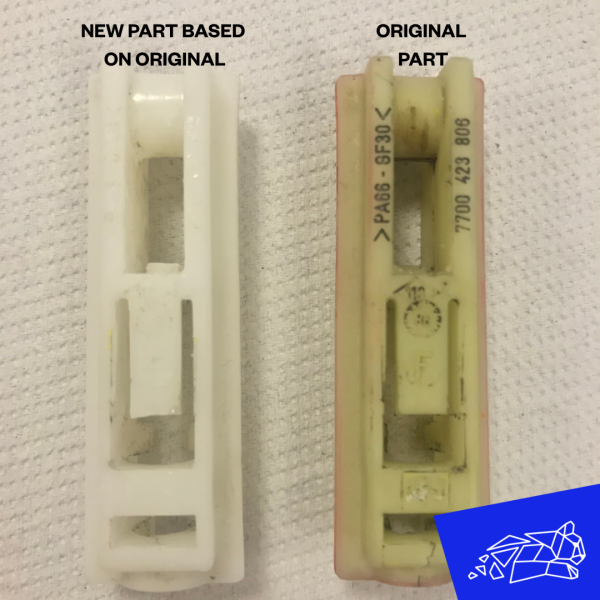
An existing part without documentation — when you have a physical component that needs to be reproduced, replaced or adapted, and the original CAD documentation no longer exists, 3D scanning or modelling is used. The goal is not always to scan the existing part — the fastest and most practical route to a usable manufacturing model is chosen. With 3D scanning, the scanner captures the geometry of the part and produces a digital model that can then be adapted for printing. For a simpler part, a modeller can build a new model from measurements and functional requirements. This is particularly useful for older machinery, spare parts and production fixtures where documentation no longer exists.
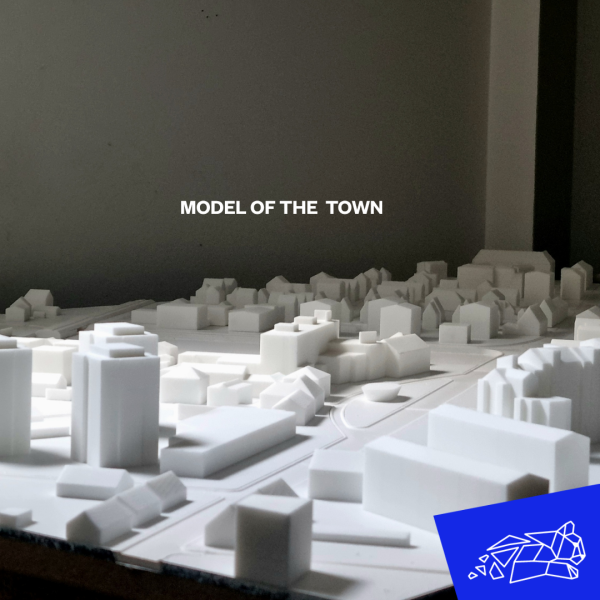
Survey, GIS or BIM data — scale models of cities, development areas or architectural projects often originate from existing digital spatial data. The task before printing is not modelling from scratch but converting, simplifying and adapting that data into a model that fits the chosen scale and printing technology. A digital model suitable for design or visualisation is not always directly suitable for 3D printing.
An idea without any visualisation — for projects where the part does not yet exist in any form, development begins with a description of the function, basic dimensions and constraints. From this information a model is developed and adapted to the chosen manufacturing technology.
The starting point determines the preparation method, not whether the project is feasible at all.
Why the type of starting point affects the whole project
Choosing how to prepare the model is not purely a technical decision — it directly affects the accuracy of the finished part, preparation time and manufacturing costs. A mistake or wrong assumption at the preparation stage can show up in production as an unusable part, an additional iteration or even the need to start again.
With a city scale model, for example, it is not enough to simply scale the digital model down to the chosen ratio. Decisions have to be made about which details to keep, which to simplify, and how to adapt the model to the printing technology so the result is both accurate and presentable. Too much detail at too small a scale means the printer cannot reproduce it. Too little makes the model useless for a presentation.
The same applies to new product development. A model prepared only for a prototype is often not directly suitable for series production. Thinking about this during the modelling phase saves time and the cost of later revisions.
This step — converting a starting point into a model that fits both the purpose and the technology — is what distinguishes a development centre from a supplier that simply prints files.
A model prepared for a prototype is not necessarily ready for series production. That difference is worth establishing before printing, not after.
What this means for you as a client
You do not need to know the technical details of 3D printing, know which file format is required, or know how to model in 3D. What matters is that you can describe what you want to achieve. Based on your information, we determine how to reach the right model and how to prepare it for manufacturing — whether through modelling, 3D scanning, reconstruction of an existing part, conversion of existing digital data, or a combination of approaches.
How the process works at Chemets
Every enquiry begins with questions about the purpose of the part and the requirements for technical properties, material, surface finish and timeline. Based on this, a proposal is prepared with the recommended manufacturing approach. Before production begins, the client receives the model for review — the project moves into production only after confirmation.
If you have an idea, a sketch, a photograph or an existing part and are not sure how to get to a manufacturing file, get in touch. We start with a description of the project and work out the path to the model and the finished part together.